Showing posts with label Japanese. Show all posts

Friday, 23 May 2014

Vegan Green Tea Doughnuts (抹茶ドーナツ)

I love green tea sweets! They're, truly, one of my favourite things! Green tea is so versatile! It can go with just about anything.
There are really no limits to what kind of sweets you can make with green tea. Green tea ice cream and chocolate are really popular (just to name a few).

Today, I'm going to be doing another popular green tea sweet. I'm going to show you how I make Matcha Green Tea Doughnuts that  are vegan and require no pan.

Pretty sweet, huh? ;P

This recipe is for doughnuts which are soft, and moist (the best kind really). And can be made without a pan (although, if you wanted to use a pan you could. Just make the mixture a bit wetter by adding 1/2 cup more milk, and pour the mixture into the moulds!)

Green Tea Doughnuts (抹茶ドーナツ)
Makes: 12
Prep Time: 1 hr, 40 mins
Cook Time: 11 mins 

Ingredients:

Doughnut
  • 1 1/2 cups of vanilla soymilk (or plain is fine too)
  • 1 tsp. of vanilla paste (liquid vanilla is okay :) )
  • 1/4 cup of oil (I use rice bran oil)
  • 1/4 cup of agave (or liquid sweetener of choice)
  • 1 sachet of yeast (about 5g)
  • 2 cups of plain, all purpose flour (I like to use wholemeal so it's slightly better for you, but you can use white flour if you like)
  • 1 tsp. of salt
  • 2 Tbs. of Matcha Green Tea Powder
  • 2 Tbs. of Coconut Sugar (or other sugar of choice.)
  • 1/4 cup of apple sauce
Icing
  • 2 cups Icing Sugar
  • 1 Tbs. Green Tea Powder
  • 3 Tbs. Coconut cream (optional)
  • 1 Tbs. Water or milk
Directions:
  • In a medium-small sauce pan, put the milk, vanilla, oil and agave and bring it to a boil. One it is boiling turn off the heat,  and set aside until the liquid is lukewarm (about 30 minutes).
  • After the mixture is lukewarm, add the yeast and wait for 10-15 minutes (until the mixture becomes kinda foamy and lumpy). 
  • Put the flour in a large mixing bowl, and use a whisk for 10-15 seconds. This a lazy way to sieve flour ;P
  • Once you have "sifted" the flour *wink, wink*, add the other dry ingredients and mix until the mixture is a soft, pale green.
  • Add the secret ingredient - apple sauce! This will ensure that your doughnuts remain delicious and moist.
  •             Finally, add the soy milk mixture you set aside, gradually. The mixture should turn into something resembling half a dough and half a batter. 


  •       Set aside in a dark, preferably slightly warm place for 1hr until the mixture almost doubles. (I usually put mine in an off oven, which had been on the lowest setting about 15-20 mins before I put it in. So, this way it still has some of the warmth, but it's not going to cook the mixture. This is what my mum used to do! ;) )
  • Preheat oven to 180C (350F). Roll out dough, so that it's still thick (about 1.5 inch, or 3 centimeters). Get you cutting instrument of choice (can be anything from a cookie cutter, scone cutter, or in this case a glass), cut out the doughnuts and place them on a tray lined with baking paper. Put them into the oven for 10-12 minutes.


Icing
  • Now for the icing. To make a creamy icing, you want to use the top, thick part of canned coconut milk. I usually put the can into a freezer for 20 minutes so that the top layer becomes easy to separate from the rest. Take the top layer (about 3 Tbs.) and add it to the other icing ingredients.


  • Ice the doughnuts (once cooled) by dunking them upside down into the icing. To double glaze them, simply wait until the first layer of icing hardens, then dunk them into the icing again.


After being dipped for the second time ;)
  • These are best eaten in a few days. You can store them in the fridge in an air-tight container, or freeze them for up to 6 months.

Ta-da!
Hope you likey.
Itadakimasu! (いただきます) Let's eat!

<3
Usagi.

Monday, 12 May 2014

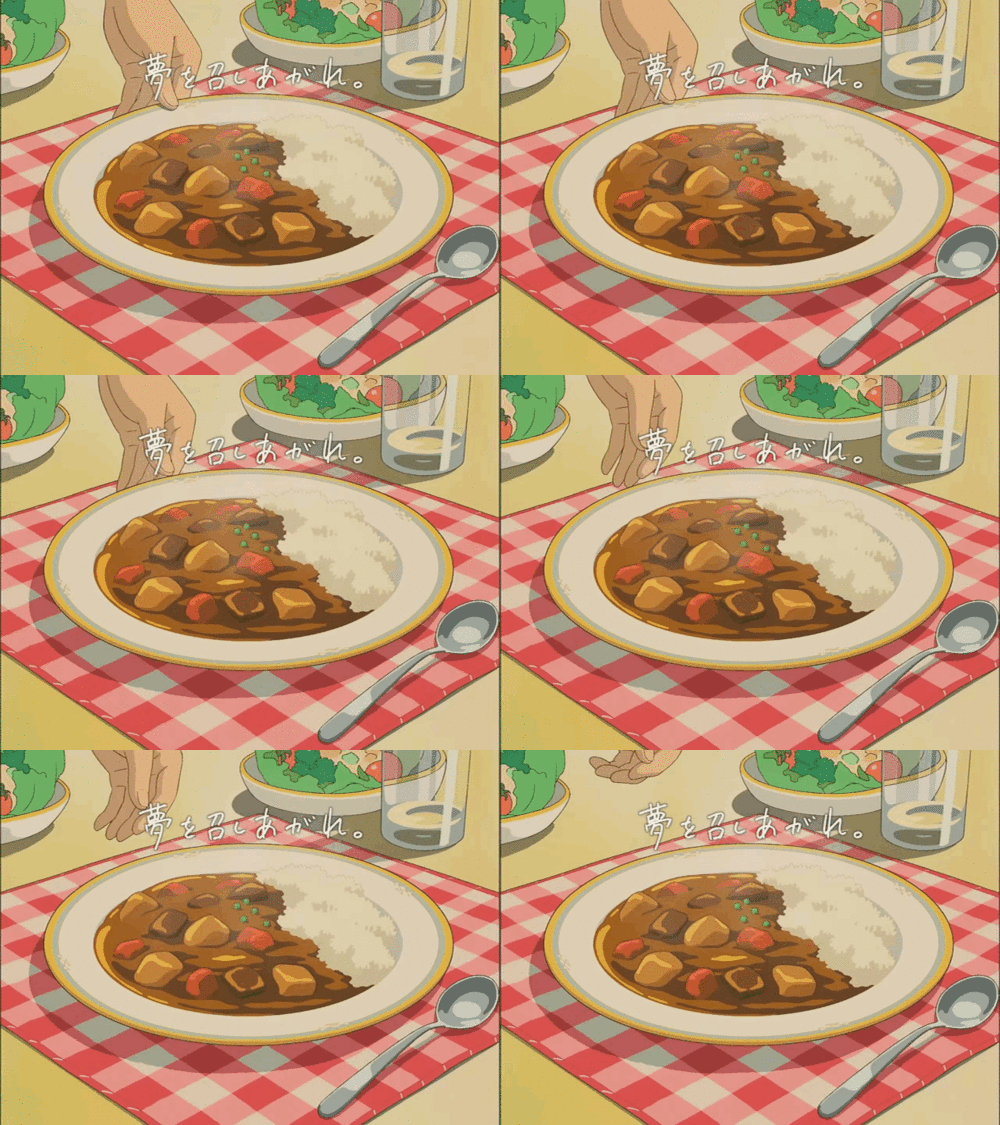
Vegan Japanese Curry Rice - Karē Raisu (カレーライス)

Japanese curry rice is one of my favourite foods because of its homey feel and nostalgic taste. Curry rice is an extremely popular dish in Japan, and often appears in anime, manga and video games.

This particular recipe is based off of those delicious, convenient, pre-made curry roux which a lot of people use when making curry. I know that I for one used to swear by these (especially as a lazy teenager)! Their cheap and easy, what's not to like?

But today we're going to be making it from scratch for several reasons; 1. Because there's nothing quite like the authentic taste of a home cooked meal that is, well, completely home cooked! ^^ and 2. most of these brands of instant curry roux contain all, or some, of the following: milk, cream, honey and cheese/s,  and since this is an all vegan blog... well, that's not going to work... but never fear! I have designed this recipe myself to replicate those siren song curry roux so that you can enjoy them vegan-style (this particular recipe is supposed to be an exact vegan dupe of "House Vermont Curry" the most popular brand of curry roux in Japan ;) )  

I will admit that this recipe has a lot of ingredients... and can be a little time consuming, but trust me it's all worth it! :3

So, let's get started, shall we?


Karē Raisu (カレーライス)


Serves: 2, generously ;)
Prep Time: 5 mins
Cook time: 1 hr, 10 mins

Ingredients:
  • 1 large potato
  • 1 large carrot
  • 1/2 brown onion
  • 1/2 Tbs. of rice bran oil (or other vegetable oil)
  • 2 Tbs. butter
  • 2 Tbs. flour
  • 3 tsp. curry powder
  • 2  tsp. garam masala
  • 2 tsp. ground coriander
  • 1/4 tsp. cayenne pepper
  • 1 tsp. cumin powder
  • 1/2 tsp. turmeric
  • 1 tsp. garlic powder
  • 1/2 tsp. onion powder
  • 2 tsp. cacao or cocoa powder
  • 1/2 tsp. cornflour
  • 1 Tbs. soy milk powder
  • 2 Tbs. milk
  • 2 tsp. yeast flakes
  • 1 tsp. agave
  • 1 Tbs. apple sauce
  • 1 Tbs. peanut butter
  • 2 Tbs. tomato paste
  • 1 Tbs. soy sauce
  • salt and pepper to taste
  • 1 1/2 cups of filtered water
Directions

  • Bring a saucepan full of water to the boil and add salt. Meanwhile, chop the potato and carrot into medium-large bite sized pieces. (It's okay if they're not all exactly the same size, as long as they're near the same size so they cook properly. And besides, it will give the meal a more comforting, homey feel if they're a little different :3).

  • Put the chopped potato and carrots into the boiling water. Bring the heat down to a medium heat (so it won't boil over) and cook for 20-30 minutes (until you can poke a fork in them and they're not hard). 
  • Once they have been cooked, drain and set aside for later.
  • Next, heat 1/2 tablespoon of oil in a large pan on a medium heat. Chop the onion into half moons and then add to the frying pan. Cook for 2-3 minutes until the onions have softened and have started getting a little colour.


  • While I'm doing this I start cooking my rice because it takes so long (I use brown rice). If you're using regular white rice you don't need to do this until later. :)
  • Take the onions out of pan and set them aside with the potatoes and carrots.
  • Now, it's time to make the curry roux :). Melt two tablespoons of butter in the pan, then add two tablespoons of flour and mix until it forms a paste.

  • Next, add all the dry ingredients, and mix together until they combine. Now you just add the wet ingredients (excluding the water), and let it all cook on a medium-low heat for a few minutes. It should start smelling nice and aromatic :).


  • Turn the heat up and add 1 cup of water to this, stirring until the lumps begin to dissolve. Add the onion to the sauce and stir in. 

  • Next, add in the potatoes and carrots and stir until they are mixed in as well. At this point you may want to add the other 1/2 cup of water. It depends on how you want your curry sauce. I like lots of sauce with things (to the point where they look like they're drowning) so I add the extra 1/2 cup of water ;P.


  • Let everything heat through for 10 minutes on a medium heat. 


Serve with rice and enjoy!

Yep, that's a lot of curry! :3


Itadakimasu! (いただきます) Let's eat!

<3
Usagi
aka
Moonlight